Are you frustrated with your water softener’s performance when removing calcium? You’re not alone. There are several reasons why your water softener may not be functioning as effectively as it should, and it can be a real headache to troubleshoot the problem. But don’t worry; we’ve got you covered.
In this article, we’ll guide you through the common causes of calcium removal issues in water softeners and provide tips on how to solve them.
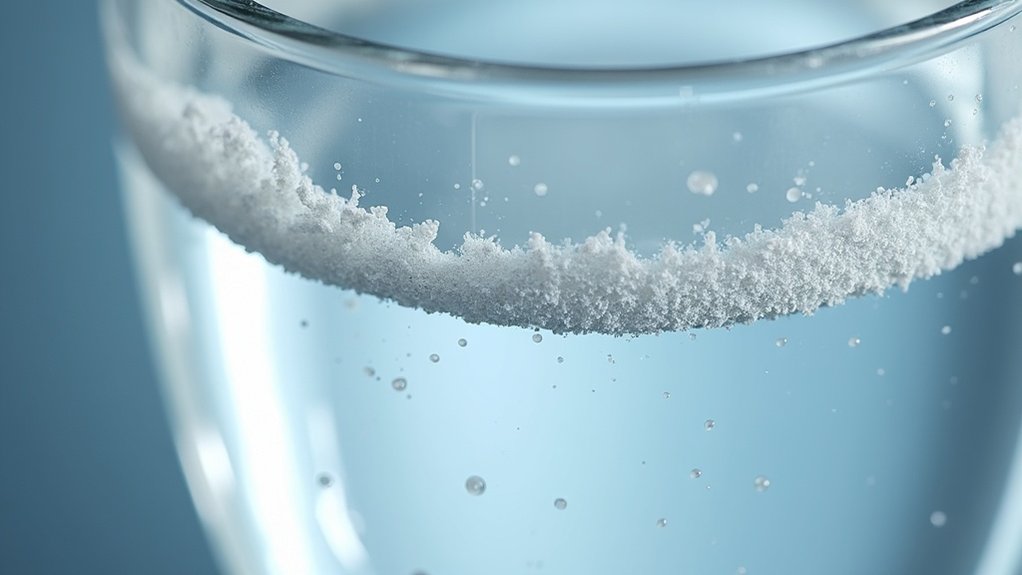
It’s important to understand how your water softener works. It removes hard minerals from your water by exchanging them with soft minerals, usually sodium or potassium. However, if your water softener isn’t working correctly, it can accumulate calcium, which can cause problems with your appliances and plumbing.
So, if you’re experiencing issues with your water softener, it’s crucial to take action as soon as possible. In the following paragraphs, we’ll explore some possible causes of calcium removal issues and provide insights on recharging and maintaining your water softener to keep it functioning correctly.
Key Takeaways
- Regular maintenance is crucial for properly functioning water softeners and resin beads.
- Calcium accumulation can cause problems with appliances and plumbing and can be solved by taking proper steps.
- Troubleshooting techniques can guide through common causes of issues with recharging, lifespan, and calcium removal.
- Checking water hardness and salt levels, breaking up salt bridge/mush, and troubleshooting immediately can prevent further problems.
Possible output:
If you’re experiencing calcium removal issues with your water softener, it could be due to various reasons. First, incorrect settings can prevent the resin beads from doing their job of removing calcium. It’s important to ensure the settings are properly programmed, and the water softener functions correctly.
Another possible issue could be a salt bridge or salt mush, which can prevent proper recharging of the resin beads. This can be prevented by regularly checking and breaking up salt bridges or mush in the salt tank.
Additionally, degraded resin beads may need to be replaced to ensure the water softener effectively removes calcium. To prevent this, regular maintenance and resin bead replacement is necessary.
Finally, high chlorine levels can shorten the lifespan of resin beads, so it’s important to keep chlorine levels in check and use a water softener designed to handle chlorine. By taking these steps, you can ensure that your water softener effectively removes calcium buildup and provides soft water.
Common Causes
One common cause of insufficient calcium removal is incorrect settings on the water softener, which can prevent the resin beads from performing their job effectively. To troubleshoot this issue, check the settings on your water softener and ensure they’re appropriate for your water hardness level. If unsure about the correct settings, consult the user manual or contact a professional.
Additionally, salt bridge or salt mush can prevent proper recharging of the resin beads, leading to inadequate calcium removal. To fix this issue, break up the salt bridge or mush using a broom handle or other tool to loosen the salt.
Resin bead degradation and motor failure are other common causes of water softener issues. Over time, the resin beads inside the water softener can degrade and become less effective at removing calcium. If so, you must replace the resin beads to restore your water softener’s functionality. Motor failure can also prevent the water softener from working properly, leading to insufficient calcium removal. In this case, you’ll need to replace the motor or consult a professional for assistance.
By understanding these common causes of calcium removal issues, you can take steps to troubleshoot and solve the problem with your water softener.
17 Practical Solutions for Common Problems when Troubleshooting Your Water Softener
- Check the power supply: Ensure the water softener is properly plugged in and receiving power.
- Reset the unit: Try resetting the water softener by turning it off and then on again.
- Check the salt levels: Ensure the salt tank is properly filled with salt. Low salt levels can affect the performance of the water softener.
- Clean the brine tank: Over time, the brine tank can accumulate dirt and debris. Clean it regularly to maintain optimal performance.
- Inspect the resin tank: Check for any signs of damage or blockage in the resin tank. Clean or replace the resin if necessary.
- Adjust the regeneration cycle: If the water softener is not regenerating properly, adjust the settings to ensure it regenerates at the appropriate time and frequency.
- Check the bypass valve: Ensure that the bypass valve is in the correct position for water to flow through the softener.
- Inspect the control valve: Check for any leaks, clogs, or malfunctions in the control valve. Repair or replace if necessary.
- Test the water pressure: Low pressure can affect the water softener’s performance. Check the water pressure and address any issues.
- Clean the venturi valve: The venturi valve can become clogged with debris. Clean it regularly to maintain proper water flow.
- Check the resin bed: Inspect the resin bed for any signs of damage or fouling. Clean or replace the resin bed as needed.
- Address any plumbing issues: Check for any issues affecting the water softener’s performance, such as leaks or blockages.
- Inspect the drain line: Ensure that the drain line is not clogged or obstructed. Clean or replace the drain line if necessary.
- Check for salt bridge: A salt bridge occurs when a hard crust forms in the salt tank, preventing proper salt dissolution. Break up any salt bridges that may have formed.
- Test the hardness of the water: Use a water hardness test kit to ensure that the water softener effectively reduces the hardness of the water. Adjust the settings if needed.
- Clean the injector: The injector can become clogged with debris. Clean it regularly to maintain proper water flow.
- Consult the user manual or contact customer support: If none of the above solutions work, consult the user manual or contact the manufacturer’s customer support for further assistance.

Recharging and Maintenance
To keep your water softener functioning properly, it’s important to regularly recharge the resin beads and perform maintenance tasks as needed. Recharging the resin beads involves adding salt to the brine tank and allowing it to dissolve, which creates a highly concentrated saltwater solution. The water softener then flushes this brine solution through the resin beads to remove accumulated minerals and recharge them for further use.
To ensure proper recharging, it’s important to regularly check the salt level in the brine tank and add salt as needed. You should also periodically check for salt bridges or mush, which can prevent proper recharging and require manual removal.
In addition to recharging, several maintenance tips can help prevent calcium removal issues with your water softener. Regularly cleaning the brine tank and checking for clogged lines and valves can prevent problems with resin bead recharging. It’s also important to check for signs of resin bead degradation and replace them as needed. Finally, be mindful of the chlorine content in your water, as high levels can shorten the lifespan of resin beads.
Following these maintenance tips and troubleshooting techniques ensures that your water softener functions properly and effectively removes calcium from your water.
Conclusion
Congratulations! You’ve successfully troubleshoot your water softener and identified the possible causes of calcium removal issues.
Remember, improper settings, degraded resin beads, and lack of regular maintenance can all affect the performance of your water softener. By following the recommended steps for recharging and maintaining your water softener, you can ensure that it continues to remove calcium and other minerals effectively.
In conclusion, maintaining a properly functioning water softener is essential for ensuring the quality of your water and the longevity of your plumbing system.
You can enjoy cleaner, softer water for years by staying vigilant and addressing any issues promptly. Don’t hesitate to seek professional help if you encounter any problems that you can’t resolve on your own.
With the right care and attention, your water softener will continue to serve you well for many years.